Add columns to slides by adding {.columns} to the slide header, and adding the position of each column as {.left}, {.center}, {.right}, {.top} or {.bottom}.
Syntax
# Multi-column Example {.columns}
## Top Column {.top}
This spans across the top of all columns.
## Left Column{.left}

## Center Column {.center}

## right Column {.right}

## Bottom Column {.bottom}
This spans across the bottom of all columns.
Result
See next slide.
Multi-column Example
Top Column
This spans across the top of all columns.
Left Column

Center Column
right Column
Bottom Column
This spans across the bottom of all columns.
Column Sizing
Adjust the width of columns using the grow="xx" attribute. This top column is full width, while the left column has grow="2".
Syntax
# Column Sizing Example {.columns}
## Left Column {.left grow="3"}

## Right column {.right}

Result
See next slide.
Column Sizing Example
Left Column
Right column
Split
To split the layout of a slide into two columns at your point of choosing add the {.columns} parameter to the level 1 header, and the {.split} parameter to a level 2 header.
Syntax
# Split Example {.columns}
## {.top}
## {.split}
{width=60%}
Caption: Prof. Dr. Marc Erich Latoschik
##
{width=60%}
Caption: Dr. Jean-Luc Lugrin
Result
See next slide.
Split Example
Prof. Dr. Marc Erich Latoschik
Dr. Jean-Luc Lugrin
Grid Layout
Use a grid layout in slides by adding {.grid} to the slide header, and by defining columns using level-2 headers (##) with the position of each column noted as {.top-left},{.top},{.top-right},{.left}, {.center},{.right},{.bottom-left},{.bottom}, or {.bottom-right}.
Reveal segments of slides sequentially with the {.fragment} parameter. In any level 1-3 header, add the tag .fragment. Advance through the slides, revealing fragments sequentially. The slide URL is appended with a number beginning with 0 indicating the fragment number. Watch the URL as you advance through this slide.
Syntax
## First Block
Text visible from the beginning.
## Second Block {.fragment}
Text appears as you advance.
## Third Block {.fragment}
Text appears as you advance.
## Fourth Block {.fragment}
Text appears as you advance.
Result
First Block
Text visible from the beginning.
Second Block
Text appears as you advance.
Third Block
Text appears as you advance.
Fourth Block
Text appears as you advance.
Fragment Index
Use the cue data-fragment-index to indicate an order that fragments should appear.
Syntax
```{markdown} ## Will appear first {.fragment data-fragment-index=“1”} a
Will appear next
b
Will appear with the block above
c
## Result
## Will appear first {.fragment data-fragment-index="1"}
a
## Will appear next {.fragment data-fragment-index="2"}
b
## Will appear with the block above {.fragment data-fragment-index="2" }
c
# Lists {.columns}
## {.top}
Decker supports both enumerated and ordered list using the following syntax:
##
##
## Enumerated Lists {.left}
## Syntax
```{.markdown}
- Take out trash
- Vacuum
- Bedrooms
- Living Room
- Wash Dishes
Result
Take out trash
Vacuum
Bedrooms
Living Room
Wash Dishes
Ordered Lists
Syntax
1. bread
2. milk
3. sugar
4. flour
Result
bread
milk
sugar
flour
Sequential Lists
Use the (@) symbol to automatically number list items. Numbered items do not need to be in a single list.
Syntax
(@) This method of listing items has advantages for citing sources.
(@) It automatically numbers all items in order of appearance.
Additionally:
(@) It disregards line breaks and continues the list throughout the presentation.
Result
This method of listing items has advantages for citing sources.
It automatically numbers all items in order of appearance. Additionally:
It disregards line breaks and continues the list throughout the presentation.
Tables
Decker uses the markdown syntax for creating tables.
To quote a block of text, precede each line with a > character:
Syntax
> This is a block quote.
>
> > A block quote within a block quote.
Result
This is a block quote.
A block quote within a block quote.
Vertical Slides
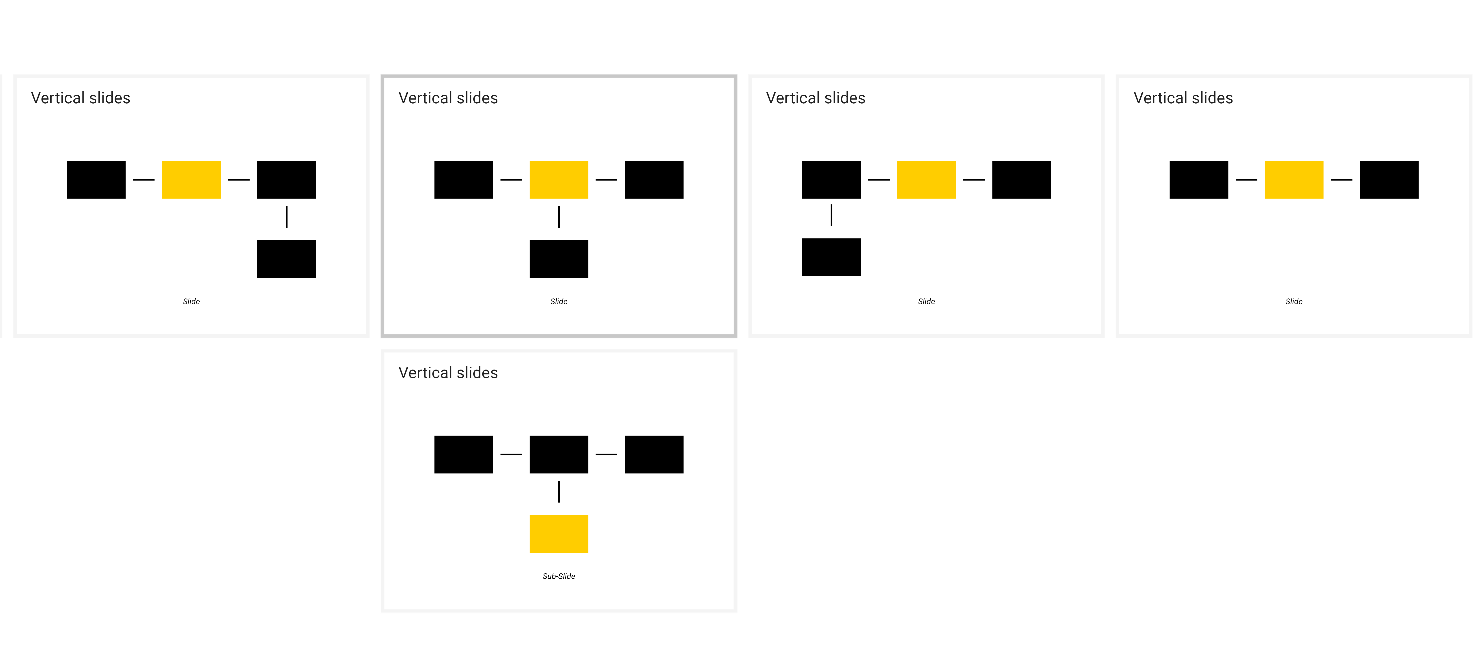
Add slides below the current slide by adding {.sub} to the slide’s level 1 header. Navigate to these slides using the ↓ key or by pressing the space-bar. The meta-data variable vertical-slides defaults to true.